How to send bulk emails with personalized images. You already know that MaxBulk Mailer allows you to send messages with custom text by using tags. Tags allow you to personalize your message with the recipient data, its first name, last name, company, etc… What you probably don’t know is that you can extend and use this same feature to send customized pictures as well. Let me explain to you how!
How to send bulk emails with personalized images
First, you have to upload your pictures to your web server. For our example I have uploaded 5 pictures to the ‘img’ folder at https://www.maxprog.com named ‘cat.jpg’, ‘fennec.jpg’, ‘ostrich.jpg’, ‘panther.jpg’ and ‘wetcat.jpg’. As a result the pictures are available at https://www.maxprog.com/img/ as for example https://www.maxprog.com/img/ostrich.jpg (my favorite).
Then we have to modify the recipient list, insert the picture names into the Opt1 column, and finally write the message with the special HTML code that will allow us to send each picture.
The recipient list

You can see how we use the Opt1 column to store each picture name.
The message
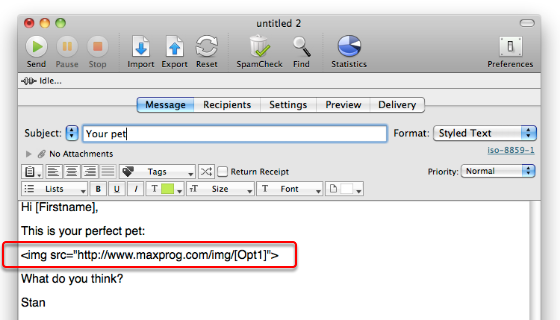
For the message, we select the Styled Text format, and we write our message using the Opt1 tag. We embed it into some special HTML code as part of the picture URL. Note that this same code would work with the HMTL format but not the Plain Text format.
The HTML code in depth

This is our HTML code decomposed. It is made of a simple line using the standard ‘img’ src tag to refer to a picture, followed by the server URL, the image path, and finally, the Opt1 tag. The data in the Opt1 column will replace the Opt1 tag, so for Adam Johnson, the HTML code would be:
<img src="https://www.maxprog.com/img/cat.jpg">
And that code insert the remote picture https://www.maxprog.com/img/cat.jpg into the message!
Previewing the message
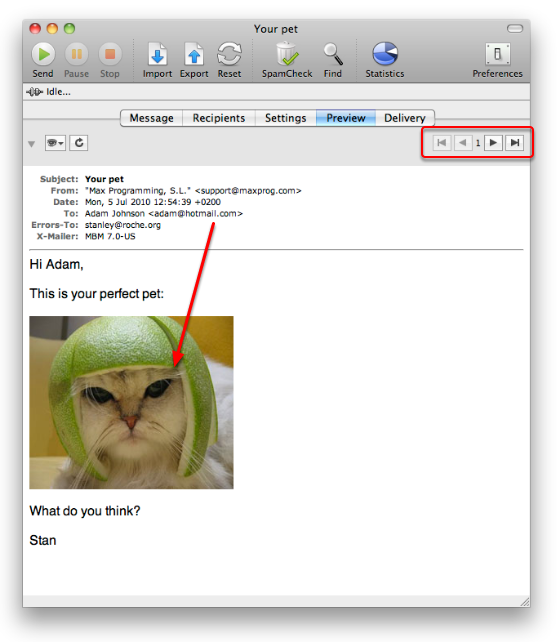
If you select the Preview panel, you will see what the message will look like for each of your recipients. Just click on the left or right arrows to go thru your list and check every recipient. This is what the recipients of your message will see.
In case you also need to link the picture to a website use this code instead:
<a href="URL_HERE"><img src="PICTURE_URL_HERE" border="0"></a>
Example:
<a href="https://www.maxprog.com"><img src="https://www.maxprog.com/img/cat.jpg" border="0"></a>
Any questions?